Roasting is the bridge between agriculture and gastronomy. While the inherent genetics of cacao tree and the precision of post-harvest fermentation provide the raw potential of a chocolate’s flavor, it is the roasting profile that acts as the final judge of the taste soon to be experienced.
In specialty chocolate, the “correct” temperature range is not a static number, but a dynamic progression. Understanding the thermal physics of the cocoa bean is essential for any maker looking to transform bitter, acidic seeds into a complex, nuanced delicacy.

– The Thermodynamics of the Cocoa Bean
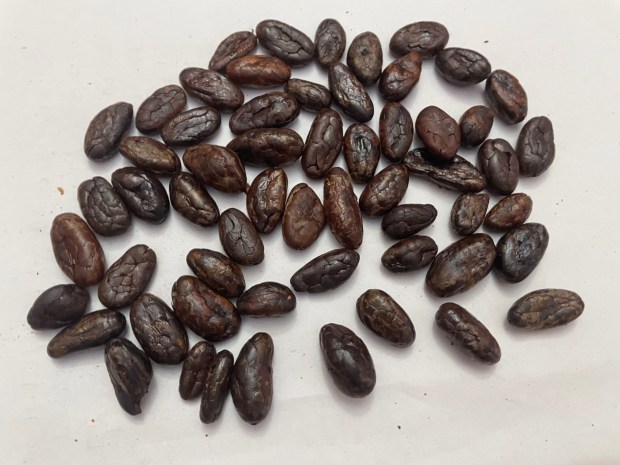
To understand roasting, we must first look at the bean as a complex biological vessel. A cocoa bean is roughly 45-50% fat (cocoa butter), with the remainder composed of proteins, carbohydrates, and moisture.
When heat is applied, the bean undergoes a series of physical and chemical transformations. The challenge lies in the fact that cocoa beans are non-uniform; they vary in size, density, and moisture content depending on their origin and fermentation quality.
-Heat Transfer Mechanisms
In a roaster, heat reaches the bean through three primary methods:
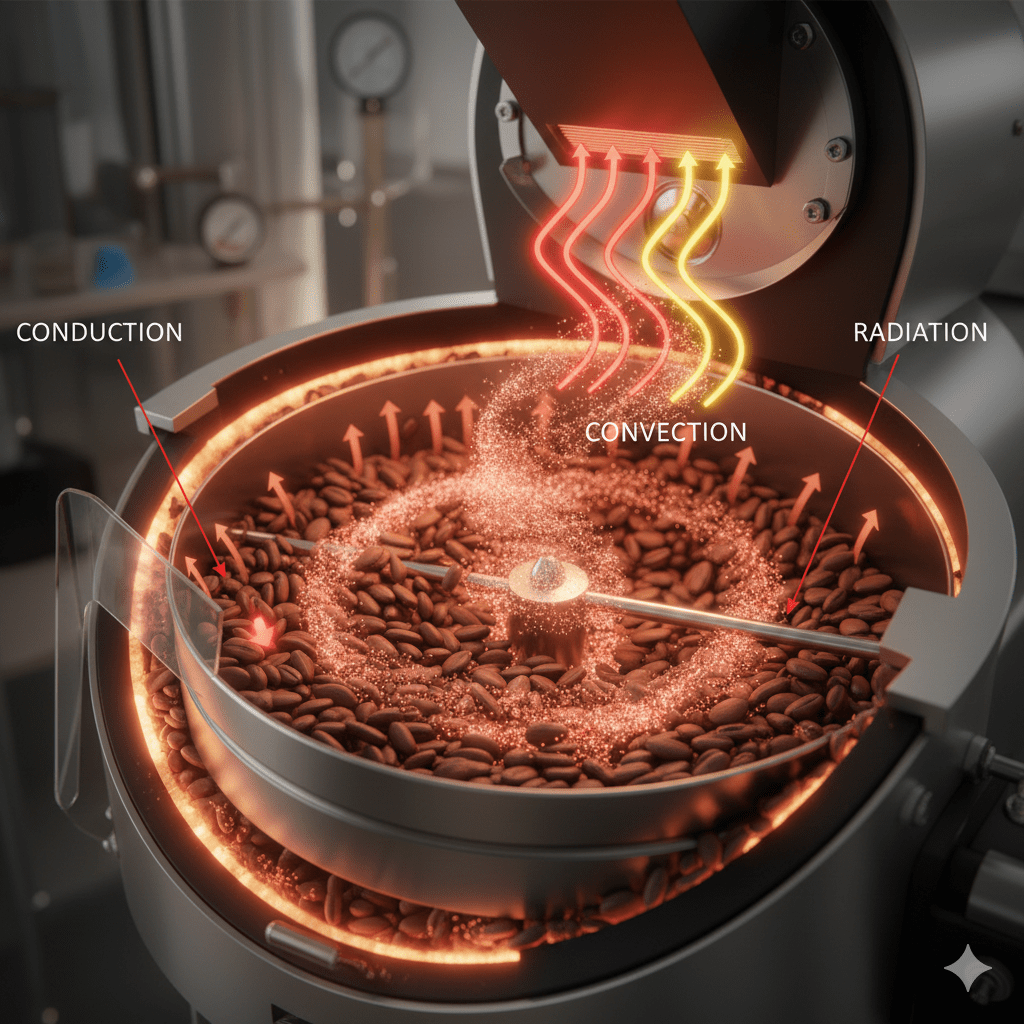
Conduction: Direct contact with the hot walls of the roasting drum.
Convection: The movement of hot air around the beans (the most controllable variable).
Radiation: Heat emanating from the internal surfaces of the roasting environment.
The goal of a sophisticated roasting profile is to balance these three forces to ensure the bean roasts evenly from the outside in, preventing “tipping” (burning the edges) while ensuring the core reaches the desired chemical state.
–Phase One: The Drying and Dehydration Stage
The journey begins with the removal of residual moisture of the fermented cocoa beans. Even well-cured beans contain a specific percentage of water. As the beans enter the roaster, the initial thermal energy is consumed primarily by evaporative cooling.
During this stage, the temperature must be managed to allow moisture to escape without creating excessive internal steam pressure, which could rupture the bean’s cellular structure prematurely(a scenario which is most likely faced by new home bakers trying to roast cocoa beans). This phase is critical because moisture acts as a conductor; if the bean dries too quickly or too slowly, the subsequent chemical reactions—specifically the Maillard reaction—will be inconsistent.
–Phase Two: The Maillard Reaction and Flavor Precursors
As the moisture content drops, the bean enters the most complex stage of the profile: the Maillard reaction. This is a chemical reaction between amino acids and reducing sugars that gives browned food its distinctive flavor.
In cocoa, this is where the “chocolate” notes are born. However, the Maillard reaction is highly sensitive to the rate of temperature increase (often called the Rate of Rise or RoR).
Too fast: You risk developing “burnt” or “ashy” notes before the internal chemistry has fully matured.
Too slow: You may “bake” the bean, resulting in a flat, cardboard-like flavor profile that lacks acidity and brightness.
Maintaining the correct thermal trajectory here ensures that the precursors developed during fermentation are converted successfully into aromatic compounds like pyrazines, which provide the nutty, roasted backbone of high-quality chocolate.
-Phase Three: Acid Reduction and Volatile Evolution
Cocoa beans, particularly those from certain origins like Madagascar ,Vietnam or Brazil, can be highly acidic. Much of this acidity comes from acetic acid (the same acid found in vinegar) produced during fermentation.
The roasting profile acts as a thermal filter for these acids.
Lower thermal peaks tend to preserve the delicate, fruity esters and bright phosphoric or citric acids.
Higher thermal peaks drive off the more aggressive acetic acids but risk destroying the subtle floral notes.
The “correct” range is therefore a choice: are you roasting to highlight the origin of the fruit, or are you roasting to emphasize the deep, caramelized development of the roast itself?
–The Critical Role of the “End of Roast” and Development Time
The final moments of a roast are the most volatile. This is the Development Phase. Once the bean reaches a certain thermal threshold, the reactions become exothermic—the bean begins to generate its own heat as internal structures break down, the most important step.
If the temperature range is not strictly controlled during this window, the bean can “run away,” spiraling into over-roasting within seconds. This stage determines the color and texture of the final liquor. A well-executed development phase ensures that the tannins are mellowed, reducing astringency and creating a smooth mouthfeel.
-Why “One Size Fits All” Fails
The importance of finding the specific range for each batch cannot be overstated. Factors that influence the ideal thermal profile include:
Bean Size: Small beans (like those from Ecuador) heat up faster than large beans (like those from the Dominican Republic).
Density: Denser beans require a more aggressive initial heat application to penetrate the core.
Fat Content: Higher cocoa butter content changes how the bean absorbs and retains thermal energy.
The Danger of the “Flash Roast”
Some industrial processes use extremely high heat for very short durations. While efficient, this often results in a “scorched” exterior and an under-developed “raw” interior. This imbalance creates a chocolate that tastes both bitter and unpleasantly acidic—a hallmark of poor thermal management.
–Monitoring and Precision
Modern craft chocolate makers use sophisticated software to track the Environmental Temperature (ET) and the Bean Temperature (BT) in real-time. By plotting these on a graph, they create a “map” of the roast.
The goal is a smooth, declining Rate of Rise. Any sudden spikes or “crashes” in temperature indicate a loss of control that will manifest as an inconsistent flavor. The precision of the sensors and the responsiveness of the heat source (gas or electric) are the tools that allow a roaster to stay within the narrow “goldilocks zone” of flavor development.
Conclusion: The Invisible Ingredient
Temperature is more than just a setting on a dial; it is the energy that dictates the molecular rearrangement of the cocoa bean. A master roaster doesn’t just look for a final number; they look for a progression of heat that honors the work of the farmer and the potential of the soil.
By respecting the specific thermal requirements of the drying, Maillard, and development phases, makers can unlock a spectrum of flavors—from jasmine and raspberry to toasted oak and fudge—that would otherwise remain trapped within the raw bean.
Contact us if you are struggling to find that sweet spot of correct roasting profile for your cocoa beans.
Book your 1 hour Technical Strategy Session today.
For India :- Rs. 2499/-
Outside India:- USD 39/-

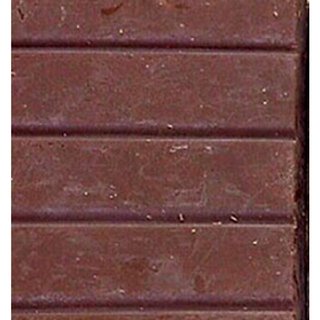

![Chocolate PSD- Credit :-Determination of chocolate melting properties by capacitance based thermal analysis (CTA) - Scientific Figure on ResearchGate. Available from: https://www.researchgate.net/figure/Particle-size-distribution-in-chocolate-at-different-times-during-refining_fig3_320961368 [accessed 10 Aug 2025]](https://rudvikeng.in/wp-content/uploads/2025/08/particle-size-distribution-in-chocolate-at-different-times-during-refining.gif.png?w=388)